
Displaying art
How to Plan a Gallery Wall
A gallery wall feels coherent when its outer shape, gaps and visual axes are planned before the first fixing.
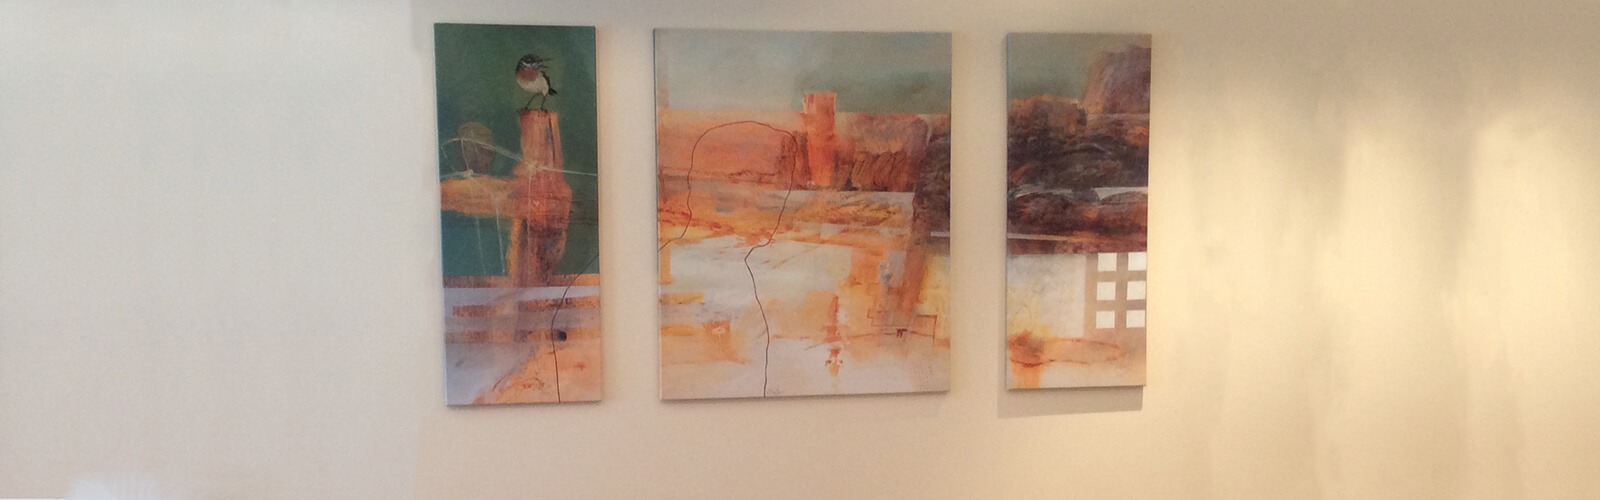
A strong gallery wall does not require identical frames; it needs a legible order of sizes, spacing and sightlines. A successful display starts before the first hole is drilled. Sightlines, wall dimensions, daily use and the real weight of each work need to be understood together.
For Berlin homes and workplaces, BBG can consider an existing group of pictures together with frames, rails and wall proportions. Photographs and measurements prepare the plan. Whether a shared centre line or outer edge works as intended often becomes clear only in the room: where is the work first seen, what stands in front of it, and how does light change?
Read the room from normal viewpoints
To assess a shared centre line or outer edge, move between the entrance, usual seating positions and main circulation routes. Furniture edges, doors and existing pictures often create more visual order than an abstract centre point.
Use removable paper tape or full-size templates to mark outer edges. This also tests a trial layout on the floor or in paper without damaging the wall. See Compare gallery rails for relevant hanging or interior-art options.
Coordinate scale, spacing and height
- A shared centre line or outer edge. Check this aspect from the viewpoints that people actually use in the room.
- Consistent or deliberately stepped gaps. Mark spacing and axes with templates before making holes in the wall.
- Balance between large and small formats. Use the outside dimensions of frame or object and include its depth.
- A trial layout on the floor or in paper. Treat weight, wall construction and fixing as one technical task.
Measurements should not be read in isolation. When checking consistent or deliberately stepped gaps, use the actual outside dimensions rather than image size alone. Gaps within a group normally feel tighter than distances to furniture or room corners. In particular, avoid starting with the first nail rather than the whole area.
Record your observations about balance between large and small formats during the trial arrangement. Deep canvases and three-dimensional objects also have a side view. Art for interiors provides further help when comparing formats.
Complete the plan before installation
Record outside dimensions, weight, hanging points and intended position for every work. Then identify wall construction and possible services. A frequent planning error is looking only at frame dimensions instead of visual weight.
For consistent or deliberately stepped gaps within a group, install from the main axis outwards. Arrange the works on the floor first or use templates. Small measuring errors can then be corrected before installation.
Avoid problems before they reach the wall
- Starting with the first nail rather than the whole area.
- Looking only at frame dimensions instead of visual weight.
- Using tight gaps between very busy images.
A spirit level cannot answer every visual question. Historic rooms may contain cornices, uneven floors or dominant furniture lines. Resolve using tight gaps between very busy images before the final fixing is made.
Include light and protection
Picture framing in Berlin provides further information for this stage of planning. Reflections are created by window, lamp, glazing and viewing angle and may change the assessment of balance between large and small formats. Test the position in daylight and after dark.
For larger or changing displays, consider a trial layout on the floor or in paper together with frame, wall and fixing. Personal advice provides the relevant details. Include doors, radiators, lamps and normal circulation routes.
Test before making the fixing permanent
View the proposed position close up and from the normal distance. Open doors, occupy the usual seats and switch on existing lamps. Pay particular attention to a shared centre line or outer edge. A photograph records the test before the fixing becomes permanent.
Hanging Pictures at the Right Height develops a neighbouring presentation question. It adds context to a trial layout on the floor or in paper and supports a solution that remains understandable when the room or group changes later.
Plan with paper shapes before fixing the first hook
Cut a paper shape to the outside size of every frame and attach it with suitable removable tape. This allows the group, gaps and total area to be judged from the normal viewing distance. Start with the largest or most important work and build around it. A shared centre line tends to feel calm, while a common outer edge can connect the arrangement more firmly with furniture or architecture.
Do not measure only the physical gap between frames. Consider the light and dark weight within each image as well. A visually dense work may need more breathing space than a pale print of identical dimensions. Photograph two or three arrangements before drilling. An imbalance that is hard to notice while standing close to the wall often becomes obvious in a small overview image.
Start with the work that should visually anchor the group. It need not be the largest; a strong colour or distinctive subject can perform the same role. Arrange the remaining frames on the floor and change one position at a time. This makes it easier to see whether the composition has genuinely become calmer or merely different.
Record the final layout before it leaves the floor. A straight photograph and a few written outside dimensions are more reliable than memory once the first frame is on the wall. Numbering the paper templates also prevents similar formats from being exchanged accidentally during installation.
Conclusion
A convincing display combines spatial effect with safety. Review a shared centre line or outer edge, consistent or deliberately stepped gaps, balance between large and small formats and a trial layout on the floor or in paper before installation and test them in the real room. The result should suit the art and everyday use without imposing a rigid formula.
Frequently asked questions
Do all frames need to match?
No. Different profiles can work when colour, material or arrangement creates a clear relationship across the group.
How can I test a layout without drilling?
Arrange the group on the floor or mark formats with paper on the wall. Photographs make it easier to compare alternatives.
Are gallery rails suitable for gallery walls?
Yes. They make later adjustments easier, provided hooks and cords are selected for the relevant loads.
Related guides
Would you like personal advice in Berlin?
Bring your questions, room situation or artwork to Berliner Bilder Galerie. We will help you compare suitable options for art, framing and presentation.